So, I've got those new hens...Brittany, Suzanne and T-Bone.
They are hilarious and do weird sh*t all day when I'm home...and probably when I'm not home.
They had been in a really crap coop that forced them to sit in...well, crap.
SO, I decided to remodel and upgrade and reuse bits of the old one, some really excellent pallets I'd found, and some bits-n-bobs from elsewhere.
Design upgrades:
1) Bigger. It needed to be bigger. The old one, coop 2.0, had room for 3 hens, but NOT for me to access it easily for clean out. And 1 more hen or a rooster would put it over capacity.
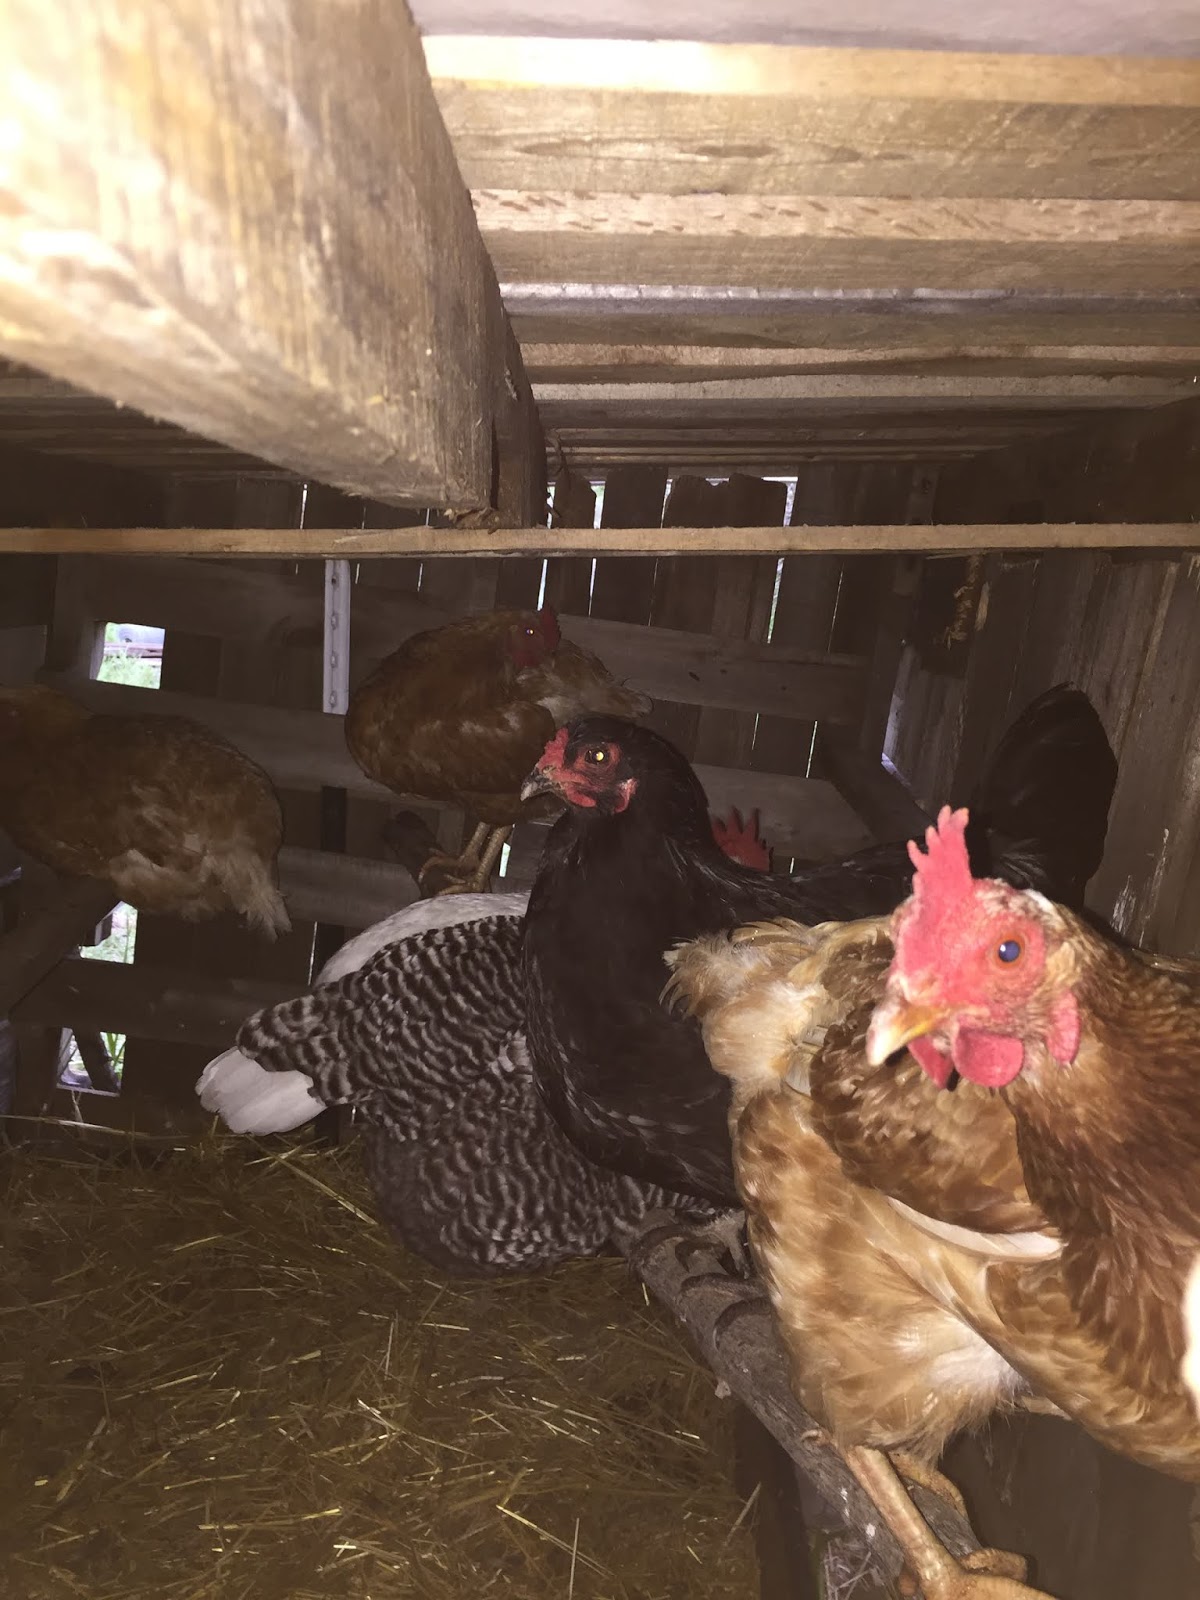
2) Easier access. The old one I had to crawl around and reach in through the door for the chickens. Awkward and meant chicken sh*t on the knees of my work pants. Not all that much fun. Really hard to rake the poo out or get the eggs. But, it had been empty since Eula Goodnight finally croaked...the last hen from last year's misfit chicken ranch.With the new more active chickens, it wasn't great.
SO...I mentally designed and redesigned for about a month.
Then, I grabbed the bull by the pallets, and gave it a shot.
I had a 6 foot long, nearly 4 wide pallet with almost solid decking! One missing board.
This ended up being the north wall. I moved the decking boards around to make the one missing board area at the right height for the laying boxes. Managed to carefully pry a board off, move it down a bit, and screw it back on. Worked great.
I pounded a couple of t-posts in the ground and put that nice pallet up on them.
Then I added the east and west walls...regular size pallets I had around the property. Each is anchored on a t-post, and screwed into the north wall.
For nest boxes, I took some 3 gallon plastic buckets, 2 actually, and screwed them, bottom to the north, open end to the south, onto the north wall pallet. With my reciprocating saw I cut out most of the back side of the buckets. These are lined up with the gap in the north wall pallet.
I used an old 2x2 to run horizontally across the bottom of the south, open, end of the bucket next boxes so the straw I put in there, and any eggs the ladies leave me, won't roll out. Cut to length with the trusty reciprocating saw and screwed it on (I like screws because you can take them out and redo things as you change your mind). It goes fully east to west and the boxes only take up half the east-west distance in the coop so there is about 3' of it the hens can roost on.
A few serviceberry branches that had come off bushes in the winter were added at odd angles here and there inside for more roosting.
I used my reciprocating saw to cut the north end of the east/west walls down to the level of the north wall, leaving the south sides a few inches taller.
Onto this I hoisted (at great risk to my back...) an 8 foot long pallet I found behind bicycle shop about a year ago. It slopes down toward the north wall and was a bit "short" north to south, but that sorted itself out with the roofing...more anon.
The south wall was just open at this point. I wanted to be able to access the entire inside through that wall if need be, AND I wanted the floor to be the bottom part of a car-top carrier that I found at the recycling center a year ago (it had been the roof of Coop 2.0) The 6 foot long pallet, minus the widths of the east/west pallet walls was just about 8" longer than the car-top carrier, and the width was close enough to the width of the east/west wall pallets. I made sure the east wall of the coop was moved in to match that which gives the hens a small sheltered area just outside their door, which is cut into the east pallet-wall (with the reciprocating saw...of course).
SO...I took a board off my wonky wood rack for the pick up (needed upgrading badly anyway) and screwed it along the top part of the east west wall pallets. Another board from the wonky wood rack was screwed on at a level that would allow the car-top carrier to be a removable floor and slide out, poo and straw and all, under the main wall. Like a trundle bed of chicken poo! I put few mini pallets (from my sawdust logs I buy for the wood stove) under the car-top carrier for better slidage. Triple checked the height of the lower south wall horizontal board and added more screws and a few support boards.
I had made some crap panels of cedar boards salvaged off a discarded fence gate I found in an alley last year down in Moscow. They were about the right height to make a passable south wall for the coop! I trimmed the 3 panels down to the right height...actually, they are about 1/4" too tall but I will sort that out one of these days.
To make the south wall an access for getting into the coop for cleaning, I used cedar fence slats I got free off of craigslist to make the horizontal south wall boards into little slots for the panels to slide in. Once I get the panels trimmed up, I will be able to slide them out the east and west ends and rake out any nonsense the hens put in there.
Finally, I used a few of the cedar fence slats to make runners for some scrap boards behind the nest boxes in that missing-board area of the north wall pallet! I just slide the board to the west and grab the eggs without having to get in the coop.
Then it was on to the roof. My builders for my future imaginary house let me have 3 pieces of salvaged metal roofing. They just fit the roof. One is a bit long and makes an overhang on the south side which will eventually use to accidentally poke my own eye out.
Finally finally I used the rest of the cedar fence slats to side between the slats of the pallet on the west wall and east wall, and to make a chicken ladder for the door (which the hens didn't care about) The ladder gets picked up at night and jammed into the pallet gap to close the hens inside.
I contacted the cedar slat guy and he had some more. I got those a few days later and they are laying in the hen-yard waiting to finish up covering some gaps in the siding if I get to it.
Over all, I really like how the coop works.
The slider thingy for egg access gets a bit snug when it rains, but it was free and easier to deal with than lining up hinges.
Sliding the poo-tray out works well.
I had to trap the hens in the coop with food and water for a couple of days until they laid their eggs in there (once the eggs appeared they were cut loose) just to get them in the habit.
There are 4 eggs in this picture because I'm leaving 1 egg in the laying box as bait...it's marked so I don't eat it. It's getting OLD...
They had been just pooping eggs out whereever they happened to be and they roam over about 15 acres. Now 2 of them (T-Bone and I think Suzanne) consistently lay in one of the buckets.
The hens didn't care for the ladder and tore the little steps off it so now it's just the door.
And, the south wall panels need trimming so they slide better. The hens seem happy enough in it. It's somewhere they can relax and take a break when they are sick of digging up my gardens.